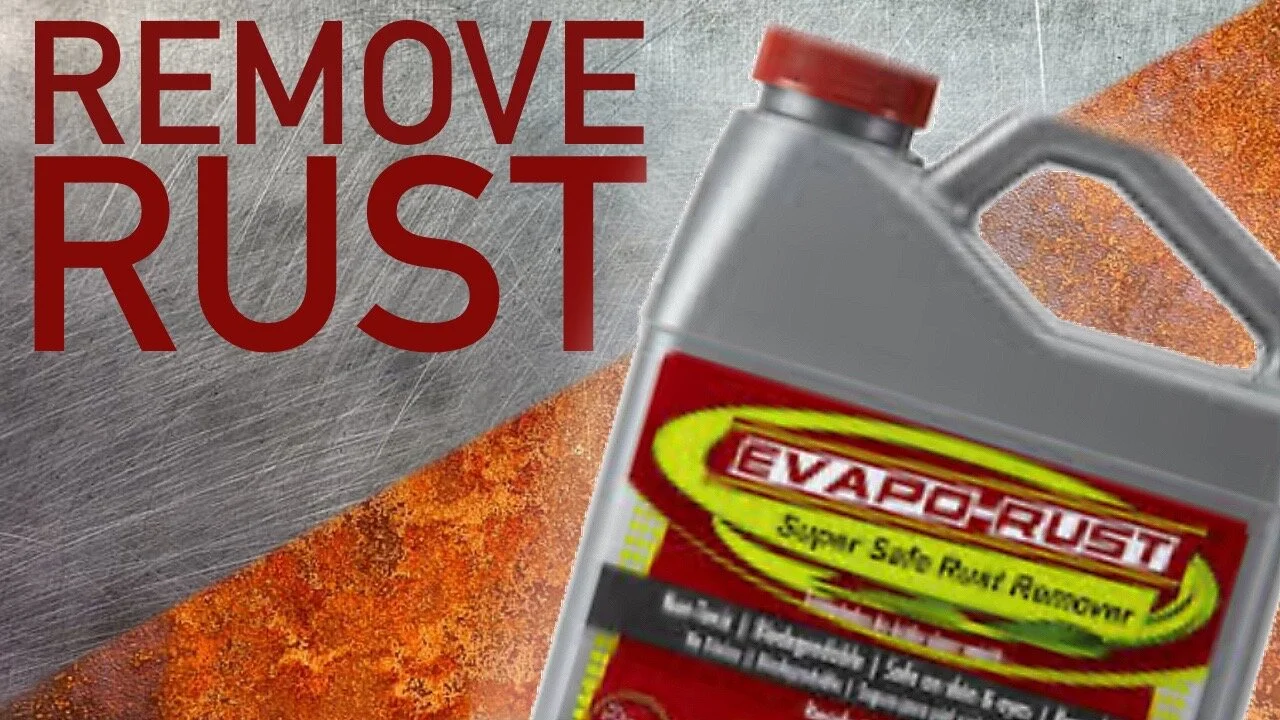
Evapo-rust To Remove Rust from Bandsaw
Since we are all stuck in our houses, I thought it would be a good chance to pull out the Evapo-rust and see if I can’t remove some rust from my bandsaw.. Before we get started, I feel like I need to explain why some of my tools are showing some signs of rust. If you haven’t been following my channel, up until this past year, I have had my shop in an “open to the elements” atmosphere. So whatever the humidity was outside, that’s what it was in here, so things definitely developed rust. If you’d like to see the progress of this shop. I encourage you to subscribe to my channel and go back and watch some of my shop remodel videos. In the meantime, let’s get started with removing some rust off of this bandsaw.
So this is the WEN 10” Band Saw, https://amzn.to/3cDUm0a (affiliate link) This is an awesome bandsaw and I really enjoyed using it up until the point that I couldn’t anymore.
Get you some of this stuff: https://amzn.to/3bvApsl (affiliate link)
First, we have to wipe off all of the dust. The Evapo-Rust bottle says that large items need to be pre-cleaned if they are oily. My product is dusty, so I assume that I need to at least attempt to remove some of this, so I just used a wet cloth to wipe it down a little bit.
The next step is to apply the solution to some “high-quality” paper towels, which, I mean, what could be more high-quality than these blue shop towels? So I first laid them out on top of the bandsaw and saturated from above with the Evapo-rust. I flattened the towels as best as I could to remove any bubbles that might be caught in it.
Next, it is important to not let the Evapo-rust dry out, so the bottle recommends to put plastic sheeting over the top, I just grabbed a trash bag.
The bottle actually says to use some magnets to keep the bag in place, and luckily I had a few on hand so I went ahead and threw those on top so that nothing slid around.
I ended up leaving the Evapo-rust on for about 8 hours before I checked it.
I then removed everything and wiped off all of the excess “Sludge”
I ended up using a little bit of steel wool and sandpaper to remove some stubborn rust and even that wasn’t quite enough.
I reapplied everything and left it to sit another 4 hours.
After I removed everything, it was significantly better, and there wasn’t as much rust, but there was definitely a difference in color on the top. I ended up going with a power sander with 220 grit to aggressively remove some rust. This might not be a great idea if you use it too aggressively. You wouldn’t want to dig into your table top and make it uneven, but I didn’t go too heavy handed on it so I wasn’t worried about it.
I removed all of the residue that was created by the sanding process and the last step was to apply some paste finishing wax and buff it out as best as I could. The wax will do two things, it will act as a bit of a protective layer from rust as well as help wood slide across the top of the table better.
I hope this encourages you to get out there and do a little bit of maintenance in your shop. Give your tools some love.
Check out the video here:
Disclaimer: Some of the links above are affiliate links and I may earn a commission fee if purchased. Thank you for your continued support of this channel.

