
Circular Saw Jig for Breaking Down Sheet Goods
I feel like a lot of woodworking is working with what you already have on hand and that is certainly what I did with this project. We are making a jig for our circular saw so that it can be used as a track saw.
Feel free to watch the video I made on this topic by clicking here: https://youtu.be/nKfRzQdPis4
There are several ways this jig would be helpful, but the most obvious is for it to help break down sheet goods. I mention that woodworking is working with what you have on hand and what I have on hand is a bunch of plywood left over from when I built my faux shiplap wall. (See video here.)
If you were building this from scratch you could get some thin 5mm plywood from the store. (Like this)
Mine is actually rough on one side, which is a perfect, because it will help grip the workpiece while we saw, so there is less of a chance of it slipping while we cut it. If you are building your own, you should consider adding sandpaper to the underside of yours. Unfortunately, on mine, the top side is also rough, so I am going to hit it with some sandpaper and get it nice and smooth.
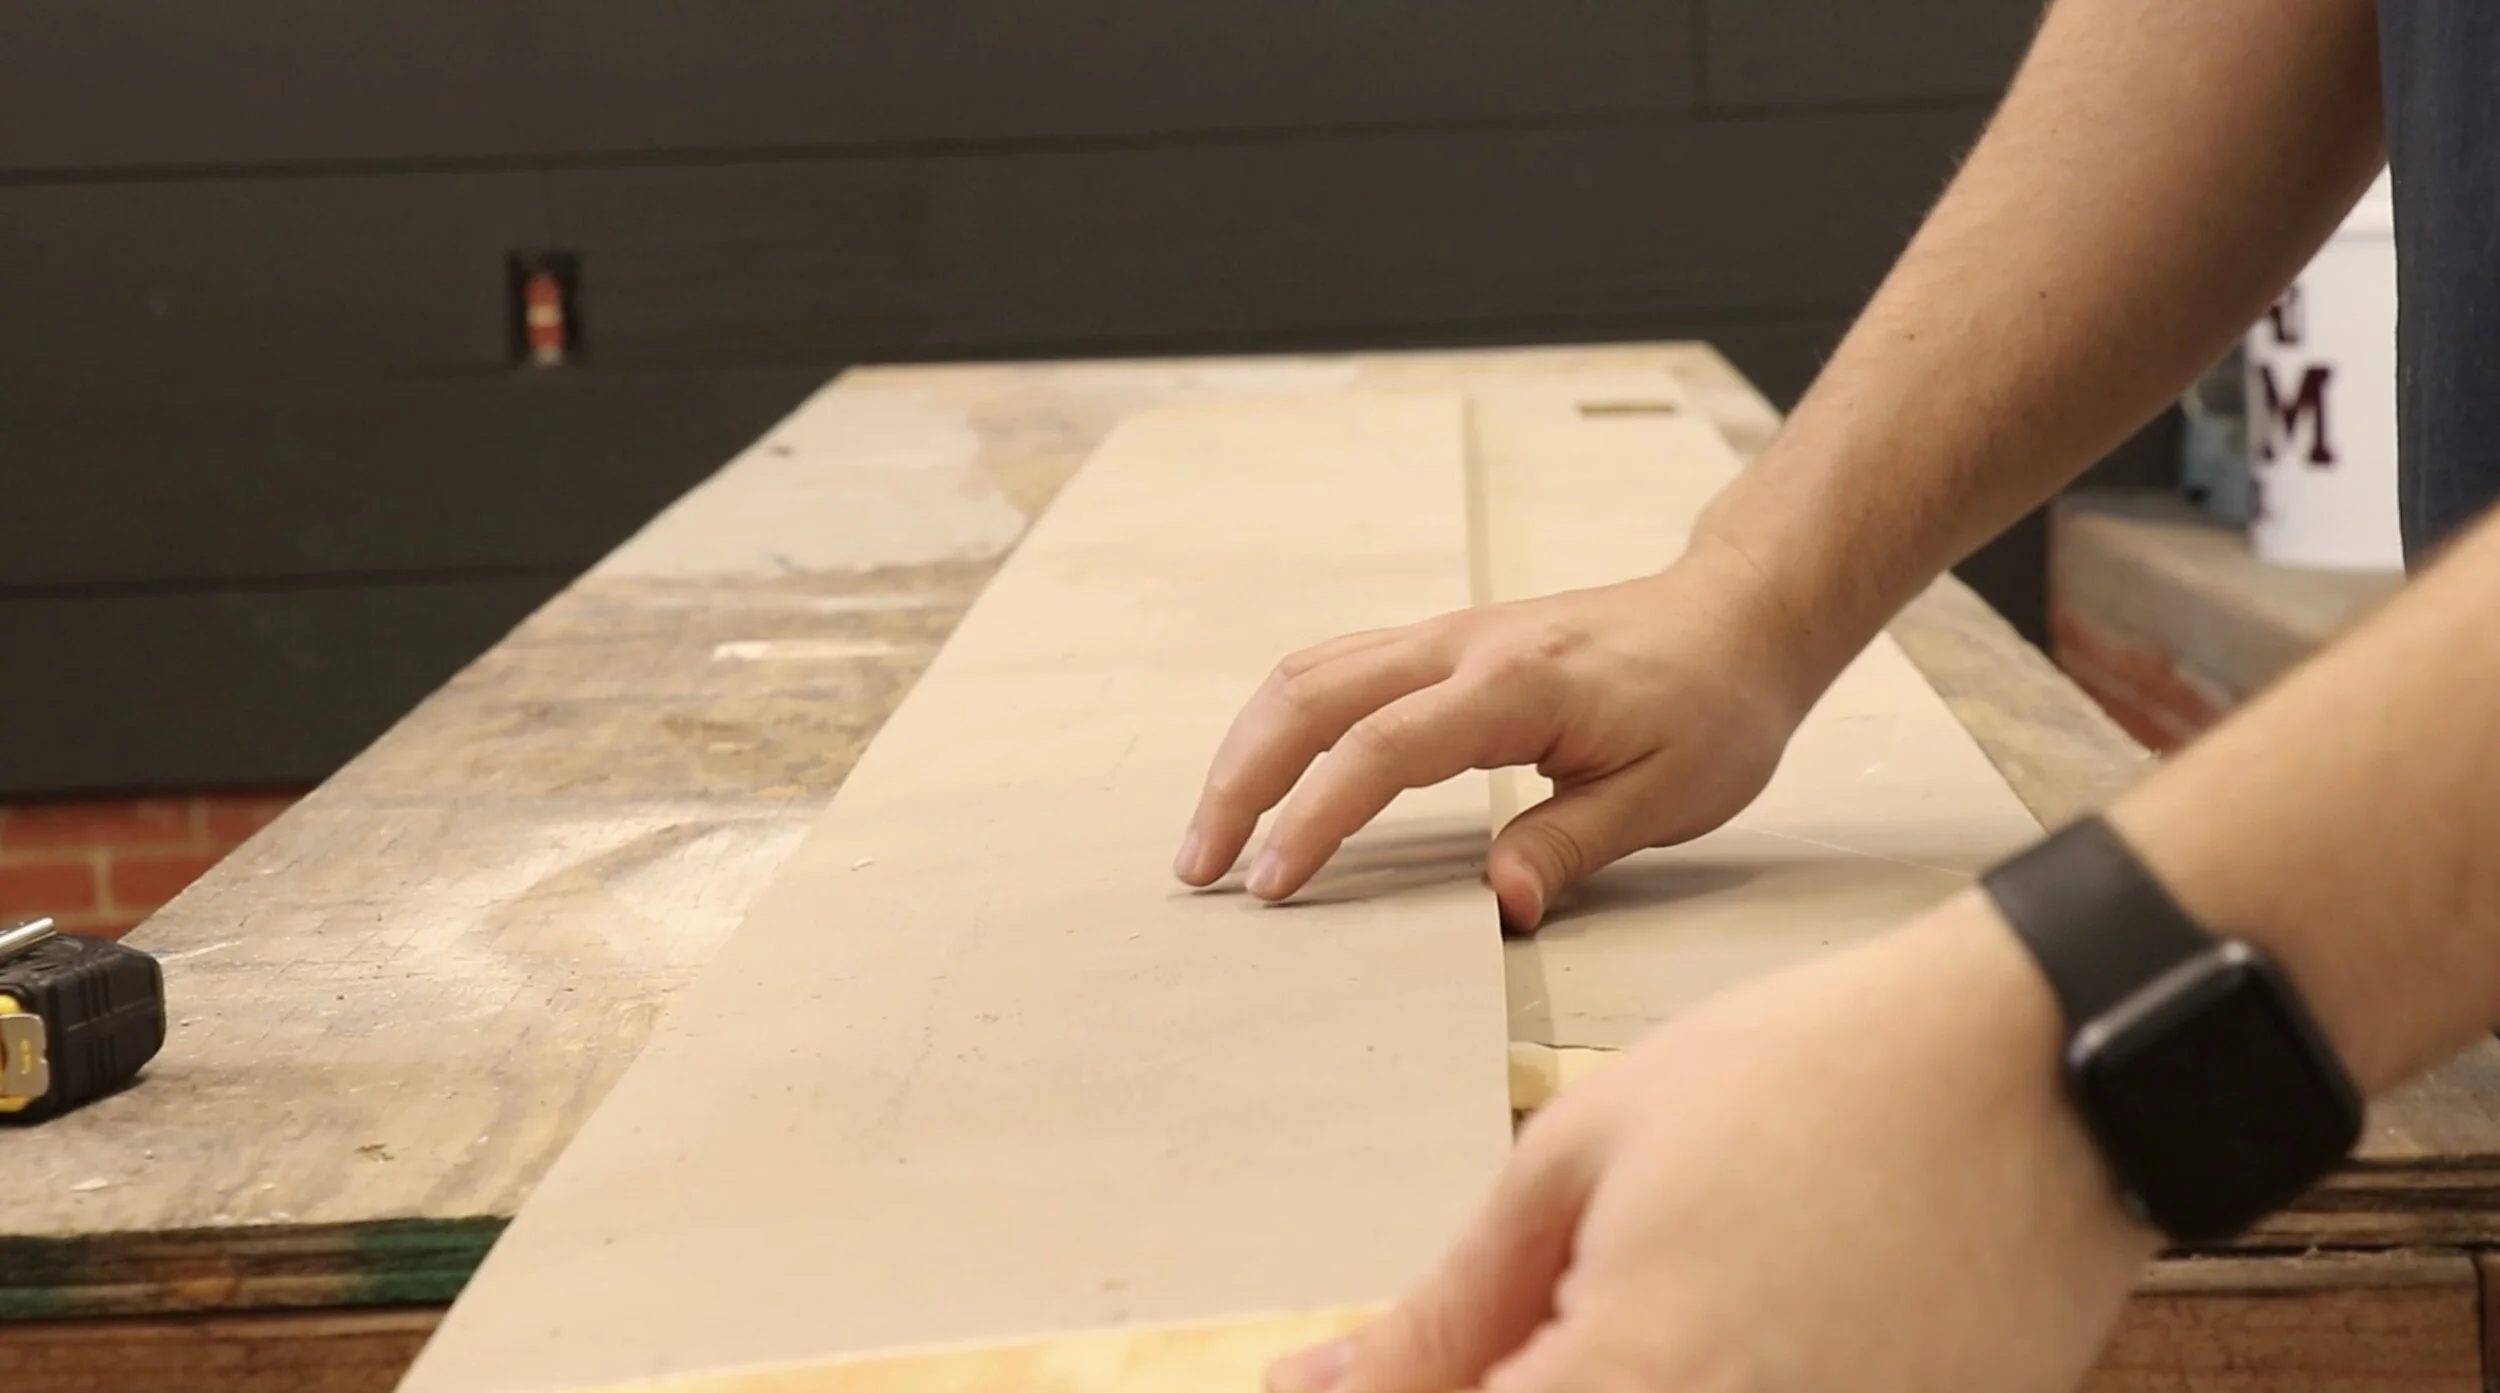
Now, a lot of these jigs that I see use only one side of the circular saw as reference, but we are going to take it a step further. I want to be able to make cuts in both directions with this jig.
What we first need to do is make sure that this piece of plywood is wide enough to account for both sides of the circular saw base. It is, and as you can see here, we have about this much room to play with.
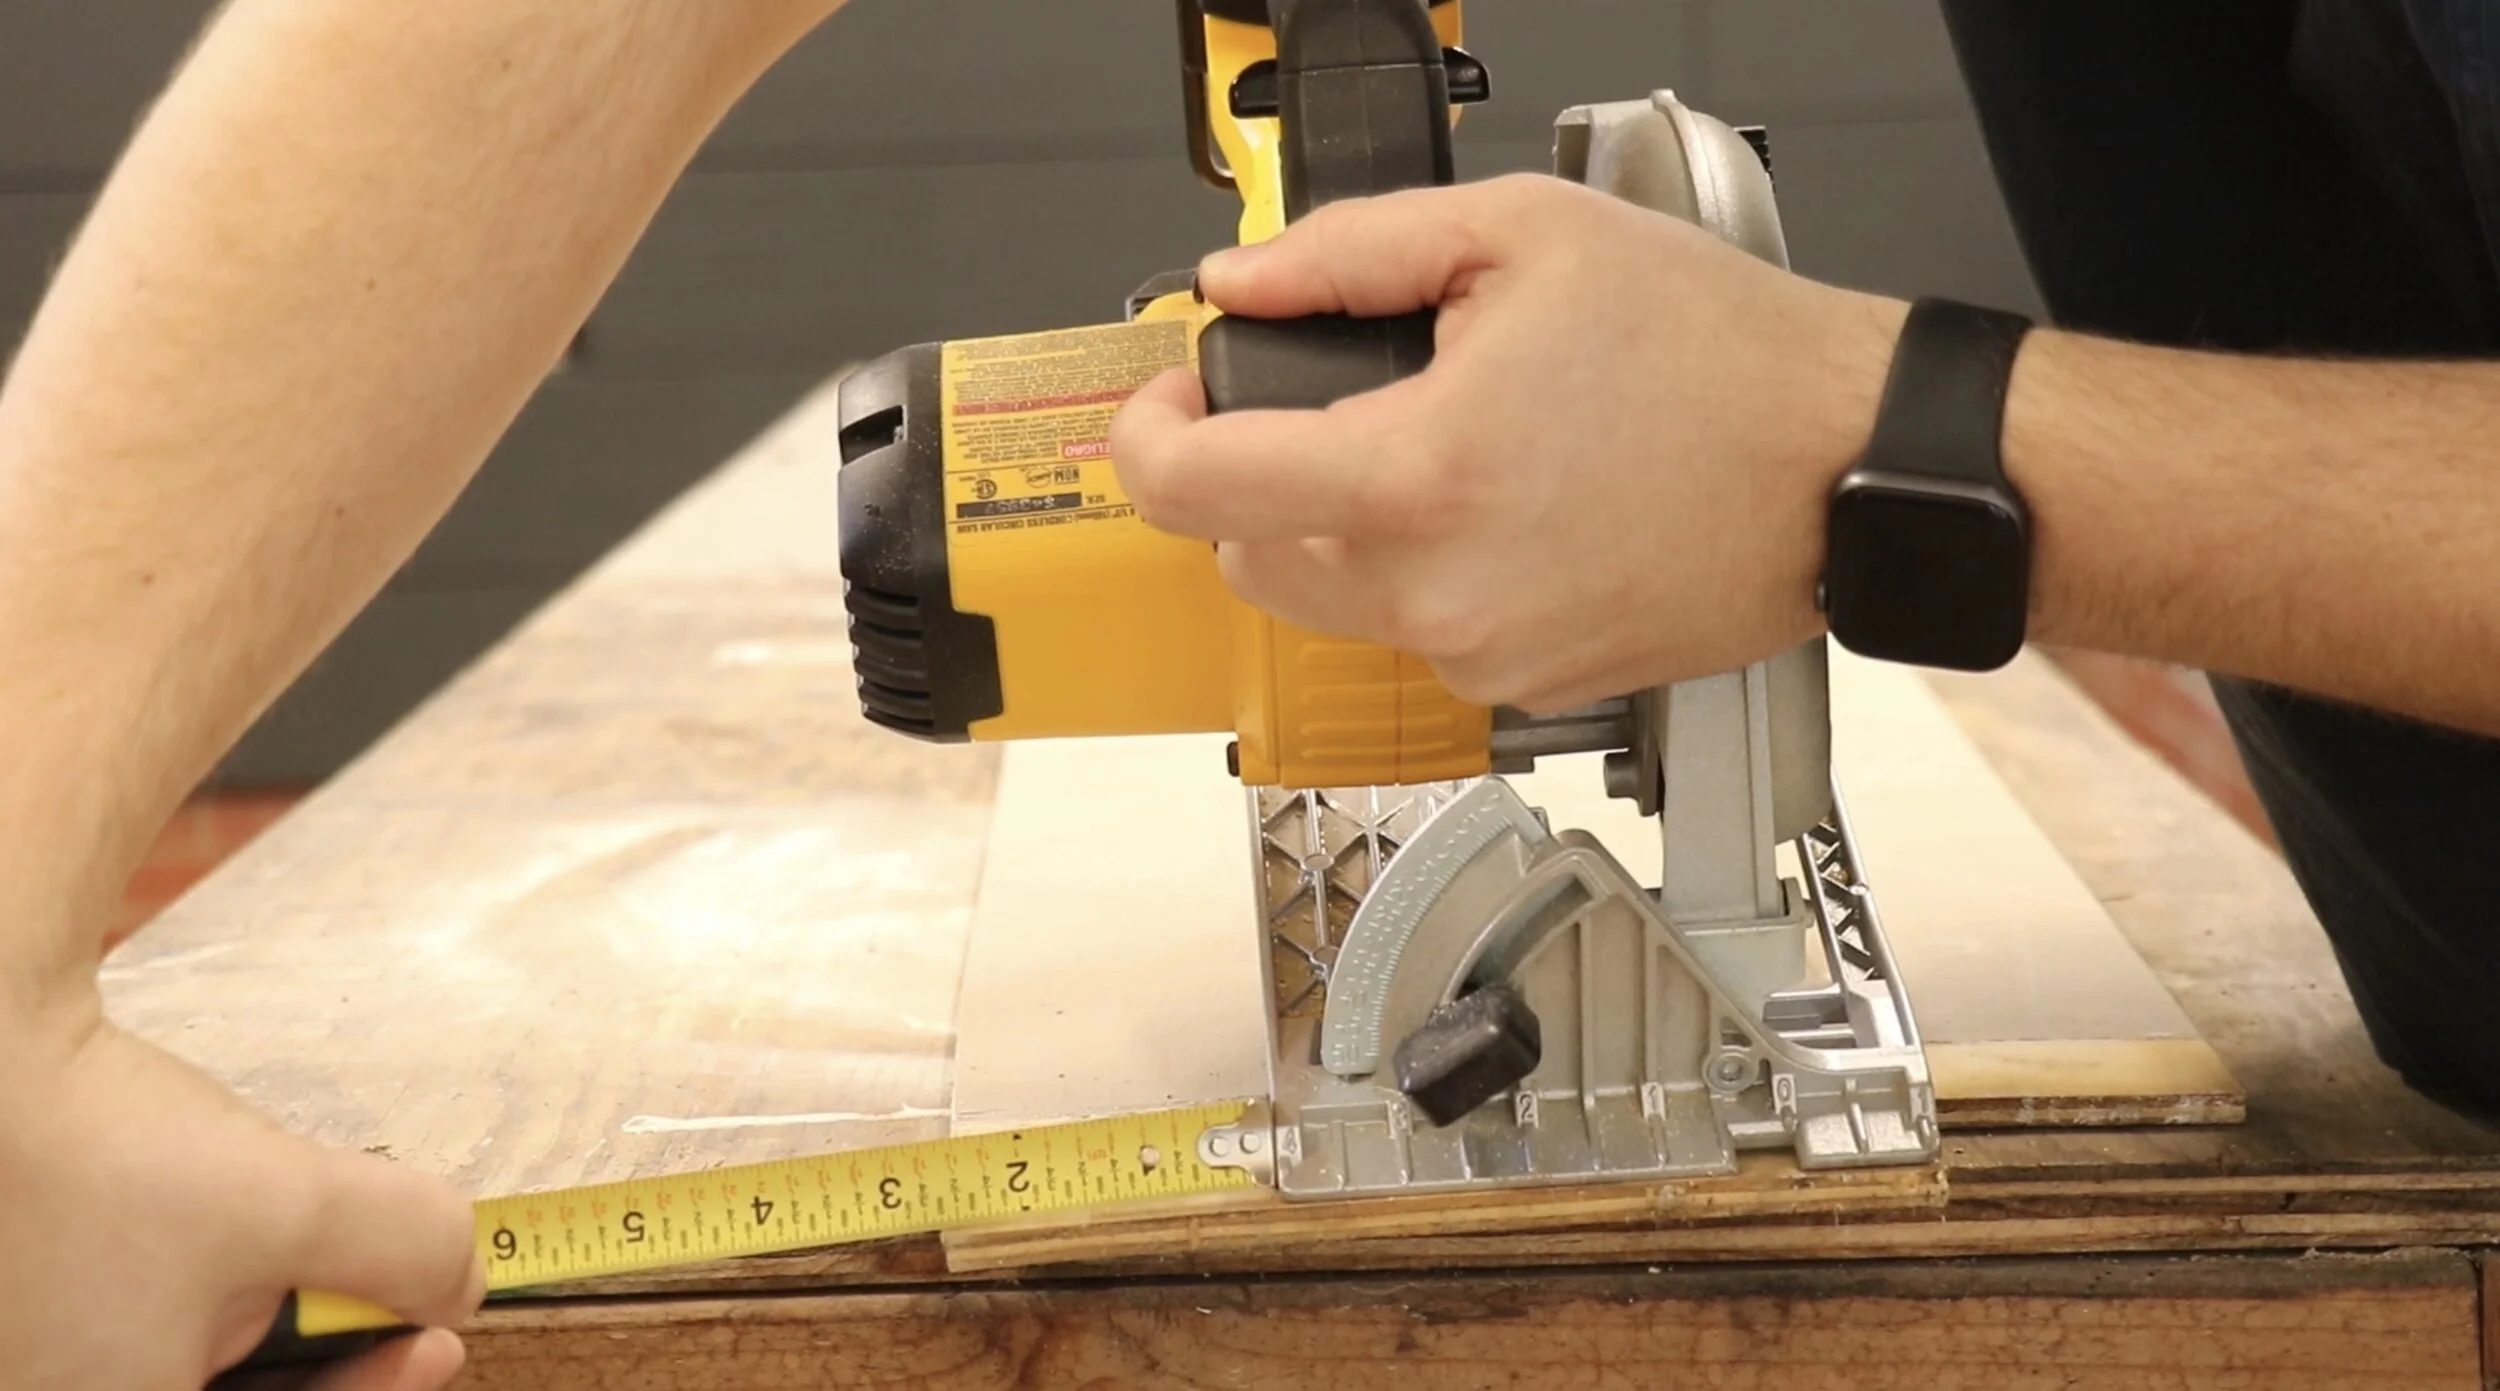
I am going to cut a piece of wood from the same material to use as the top guide for the circular saw.Using my table saw but if you don’t have a table saw get the straightest piece of 1x2 that you can find. I’m not talking about the cheap stuff near the studs, I’m talking about the good stuff near the specialty woods and trim. The width of this piece just needs to fall within the above measurement so I take it to the table saw and make a cut.
Now this is the great part about this build is that you don’t have to be very precise as long as this top board that you cut is straight. I glue the strip to the top and let it set until the glue dries.
Now this is where we will make two cuts, one using the wider side of our plate, and one using the smaller side of our plate. You can see that any imperfections in being square are cutoff by the circular saw and we are left with a piece that is perfectly Parallel with the top guide.

Currently, if I want to break down a piece of plywood, I have to get a straight edge, mark a certain distance away from where I want to cut to account for the width of the circular saw plate and then clamp it down. It literally takes forever. This jig will help us make the cuts exactly where we want with very little setup. It’s such a simple solution that for some reason I have been avoiding building for too long, and I am here to tell you to get out there and build it. It will save you so much time.